Quick Setup
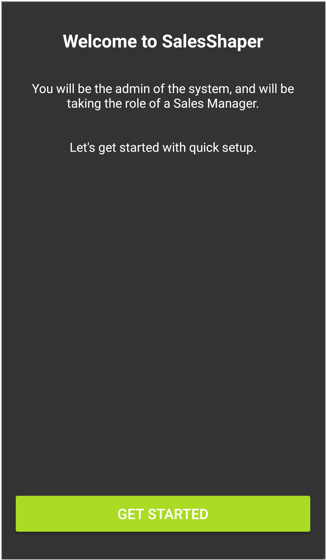
Once you have successfully signed up for an SalesShaper account, and sign in for the first time, you’ll see the following screen where you are required to perform a quick setup. Click GET STARTED to proceed.
You will go through three steps throughout the quick setup journey:
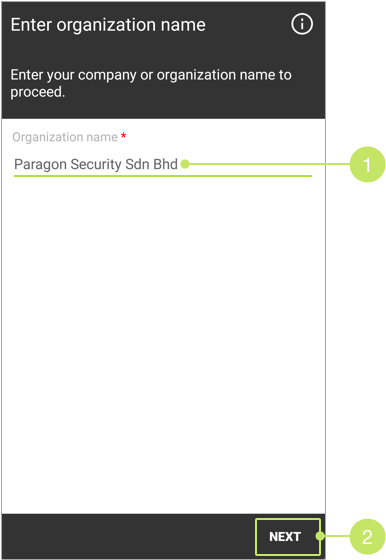
Enter Organization Name
On the first step, (1) enter your company or organization name into the given field, and (2) click NEXT.
Create New User
Next, you can create a new user account for your sales rep or assistant sales manager. You can skip this step if you do not want to create a user account for now. Otherwise, you can choose to import them from the web.
To create a new user on quick setup, firstly, (3) enter the user’s first name, last name, mobile number, email address and password.

If you are creating an account for a sales rep, (4) leave the option for User Type as Sales Rep. Otherwise, change it to Assistant Sales Manager. You can find more information about the differences between these users here.
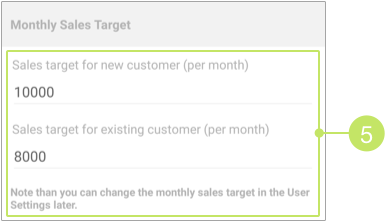
Then, scroll down to the "Monthly Sales Target" section, and (5) enter the monthly sales target for new customers and existing customers that you wish your user to achieve into the given fields.
You can change these amounts in the user settings later.
You are also required to (6) enter the monthly sales activities’ target amount for your user. The specific targets are lead generation target, appointments target, visits target, quotations target and follow-ups target.
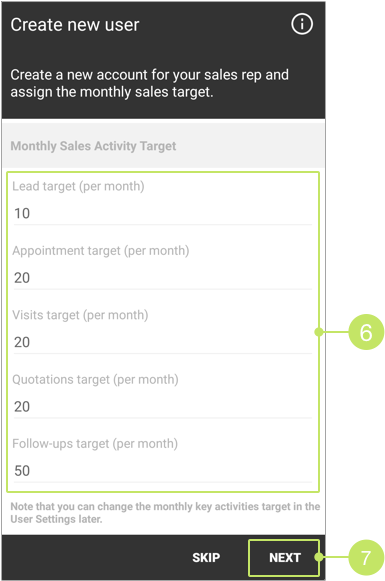
Once you have entered all information, (7) click NEXT to proceed to the final step.
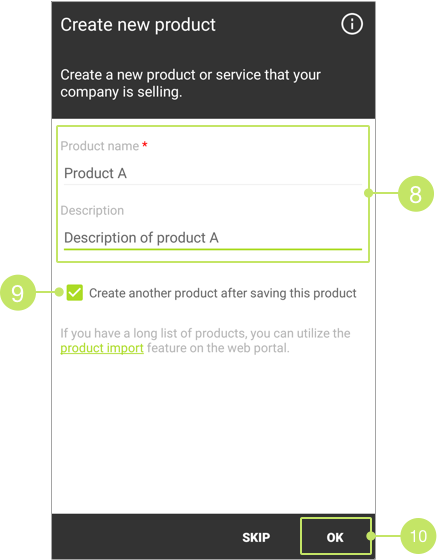
Create New Product
On the final step, you can create products or services that your company is selling. You can skip this step by clicking SKIP if you want to create products later, or import a list of products from the web portal.
To create a product, (8) enter the product name and description into the given fields. If you wish to create another product after saving this product, (9) check the "Create another product after saving this product" checkbox, and click OK. If you have finished creating all the products, uncheck this checkbox, and (10) click OK to finish the quick setup.
Once you have completed the setup, you'll land at the Plan page. You can now start to create new accounts and assign to your sales team.
Did not find an answer to your question? Write to us at support@salesshaper.com