Change Location of Appointment
To change the location of an appointment, first go to the Actions module. Select the particular appointment action and click EDIT. On the 'Edit action' screen, scroll down to the "Location" section, and click the EDIT button.
You can choose whether you want to:
Remember to click OK to save the changes once you have edited the location of your appointment.
Reset to default address
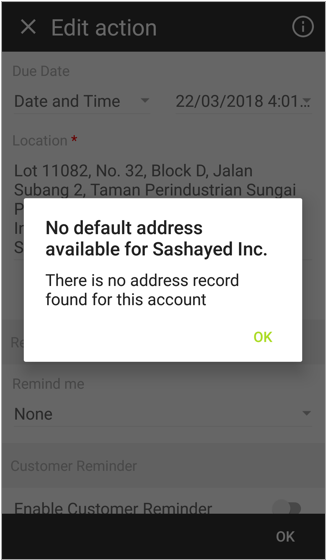
If you select this option, your appointment’s location will be reset to the associated account’s address.
If you have not provided any address for the specific Account, you will get a "No default address available for Account Name", as the image below.
Enter a new address
If you choose this option, you’ll see the screen as below.
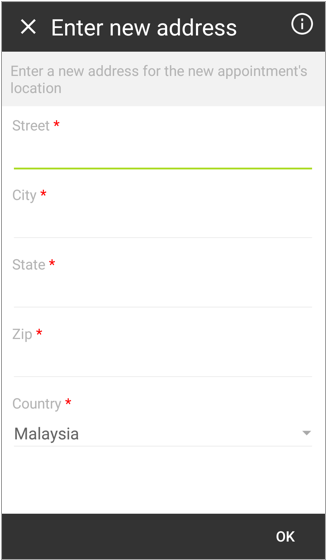
Enter the street, city, state, ZIP code and country of the new address, and click OK. Your appointment’s location will then be replaced by the newly provided address.
Pin from Google Map
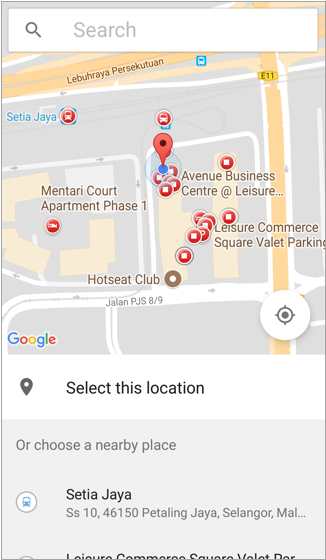
If this option is selected, you will be navigated to a page to select a location from Google Map.
You can utilize the search field to search for a location.
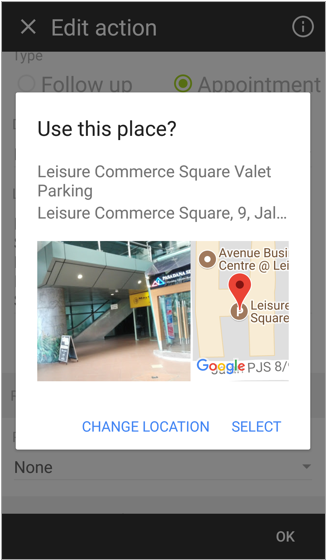
Once you have selected a location, the app will ask you to confirm it by clicking SELECT. If this is not the location that you are looking for, click CHANGE LOCATION to search again.
Did not find an answer to your question? Write to us at support@salesshaper.com