Check In Appointment
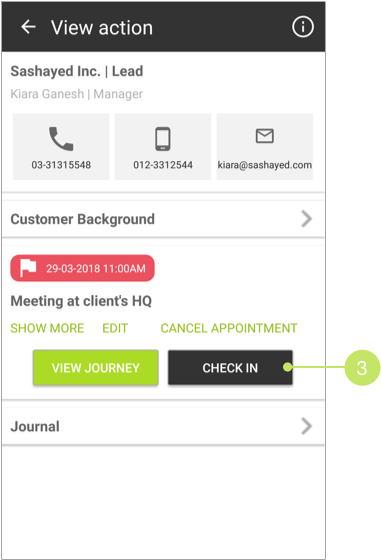
You can proceed to check in on SalesShaper when you have arrived at the appointment location. To do so:
- Launch Salesshaper and go to Action.
- From the action list, click on the specific appointment action.
- Click on the CHECK IN button.
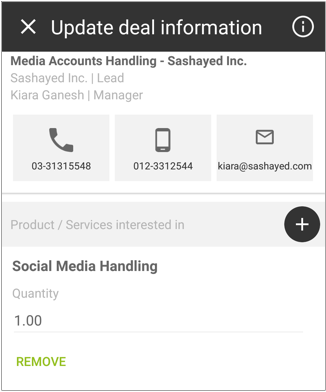
- On the 'Update deal information' screen, you can add, modify or remove products on the "Products/Services Interested In" section.
Note:
On “Products/Services Interested In”, you can click the icon to add a new product.
If you want to remove a certain product or service from the list, simply click the REMOVE button below it.
You can also change the product’s quantity in the given field.
icon to add a new product.
If you want to remove a certain product or service from the list, simply click the REMOVE button below it.
You can also change the product’s quantity in the given field.
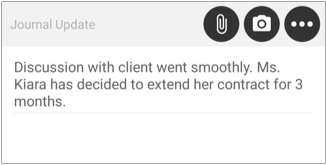
- Write the discussion or conclusion of the appointment or meeting in the “Journal Update” field.
You can also upload images, videos, voice notes and other files by tapping on the attachment icons.
Note:
To upload a file that is residing in your phone’s local storage, press to look for the file.
If you want to capture an image from the camera, press
to look for the file.
If you want to capture an image from the camera, press  to launch the camera tool.
If you want to snap a video, record an audio note, or more, press
to launch the camera tool.
If you want to snap a video, record an audio note, or more, press  to review more upload icons;
click
to review more upload icons;
click  to upload an image from your photo album;
click
to upload an image from your photo album;
click  to record a video and upload;
click
to record a video and upload;
click  to record audio notes while entering journal.
- Once you have recorded all necessary notes, you can make changes to the deal's amount, expected closing date, status or stage.
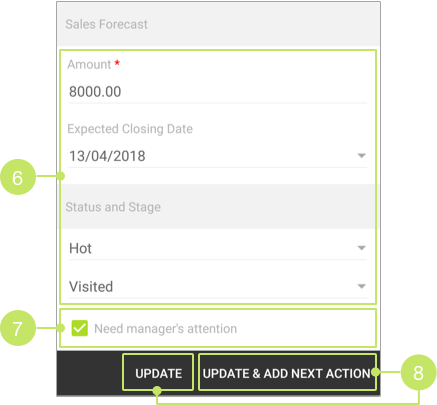
- If you’d like your manager to be informed immediately when this deal is updated, check the "Need manager's attention" checkbox.
- Once you are done, you can update the information with or without adding a next action.
Click UPDATE if you want to update the journal and deal information only. Otherwise, click UPDATE & ADD NEXT ACTIONS to add a next action.
Did not find an answer to your question? Write to us at support@salesshaper.com